


How a fibreglass boat hard top is built: the steps, DIY and the mould-free alternative
From survey to installation: plug, moulds, half-shells and lamination of a fibreglass hard top explained step by step, why the result is often heavy, what you can do yourself, how to choose a builder and when a 3D-printed hollow monoblock structure pays off.
Replacing a canvas bimini with a hard top is one of the most requested upgrades among boat owners: permanent shade, a roof that does not flap in the wind, a base for lights, antennas, radar or solar panels. The part is almost always built in fibreglass, and anyone who looks into how it is done soon finds out that lamination is the easy bit. The real work comes before: the plug and the mould.
This guide lays out the steps of traditional construction, says frankly what you can and cannot do yourself, and explains when it makes sense to skip the mould by 3D printing the part and laminating it afterwards, as we do.
First of all: surveying the boat
A hard top has to match the cabin, windscreen or rollbar of that boat. Before drawing anything you need:
- the measurements of the support points (posts, windscreen, rollbar, fittings of the existing bimini) and their relative position, which on a boat is never perfectly symmetrical;
- the headroom under the roof for whoever stands at the helm, and visibility when seated;
- where cables and lights run, if the roof will carry them;
- how much weight can go up high without hurting stability, and the wind loads on the roof surface.
On existing boats the most reliable method is a 3D scan on board, as we did for the hard top of a Princess 50: it removes measuring errors before they become mould errors. If the modification is significant and the boat is CE-marked, it is worth involving the yard or a naval designer.
The steps of fibreglass construction
1. Design
It starts with a drawing, nowadays almost always a 3D model, defining the outer shape, the thickness, the reinforced areas for fixings and how the part will come out of the mould (no undercuts, enough draft angle).
2. Plug
The plug is an exact positive copy of the finished part. It is CNC-milled from foam or MDF blocks, or built by hand on frames with plywood and filler. It is then faired, sanded and polished to a flawless surface: every defect in the plug ends up in the mould and in every part made from it. This is the step that takes the most hours of manual work.
3. Mould
Over the plug, treated with release agent, a tooling gelcoat is applied and several layers of glass fibre are laminated, with a support frame that keeps the mould from distorting. Once cured and released, the mould is the negative of the part. For a one-off hard top, plug and mould are used only once.
Then there is a detail that weighs on the bill. A quality hard top is finished on both faces: the roof on top, and underneath the headliner you see from the cockpit. That is why it is usually built by joining two half-shells, an upper and a lower one, and each needs its own mould: the cost of the moulds doubles.
4. Laminating the part
Inside the mould go release wax and gelcoat (the finished surface you will see), then layers of glass fibre wetted out with resin. To stiffen the half-shells a sandwich structure is often used: two fibreglass skins with a light foam or balsa core in between, which adds stiffness without adding much weight. Where fixings go, the core is replaced with solid inserts that do not crush when screws are tightened. Lamination can be done by hand or, for a lighter and more consistent result, under vacuum or by infusion.
Each half-shell, however, has to come out of the mould without distorting. To be demoulded it needs a certain stiffness of its own, and that stiffness comes from more material than the finished part would need: extra weight that stays on the boat.
5. Release, joining and finishing
The cured half-shells are released from the moulds, matched and joined: they are bonded and tabbed along the edges with strips of laminate, which add more material, more weight and more hours of work. Then the edges are trimmed, holes and provisions for lights and cables are made, and gelcoat defects are repaired. If the colour differs from the mould’s, the part is painted.
6. Installation
The hard top is fixed on stainless steel or aluminium posts, on the windscreen or on an existing rollbar, with through-bolts and backing plates and careful sealing of every hole in the deck. The part has to be lifted and positioned up high: the heavier it is, the more people and equipment it takes.
Can you build it yourself?
Laminating a small part is within reach of an experienced enthusiast. A complete hard top is another matter, for three reasons:
- the shape. Building a plug that is symmetrical, smooth and fits the boat is a pattern maker’s job, and that is where many DIY projects stall;
- safety. Polyester and vinylester resins release styrene: you need a ventilated space, a respirator with filters and gloves. And a roof that comes off in the wind or weighs too much up high is a serious problem, not a cosmetic one;
- the cost of a single part. Materials for plug and mould, tools and labour are paid in full even if you only need one part.
Those who still want to try usually avoid the mould and build a one-off: they shape the foam core on a jig, laminate it on both sides and then fill and sand for a long time to get an acceptable surface. The mould is saved, but fairing hours go up a lot.
Where time and money really go
In a one-off fibreglass hard top the biggest item is not the material of the part: it is the plug, the moulds and the hours of manual finishing. Weeks of work and material that never ends up on the boat. And with two half-shells there are two moulds, while stiffness for demoulding, bonding and tabbing all add up: the result is often a rather heavy part. For a 7.5 m fisherman, for example, the plug and mould would have cost more than the hard top itself.
The picture changes if the mould already exists: many fibreglass hard top builders have moulds for the most popular boat models, and in that case the production part is almost always the cheapest choice.
How to choose a hard top builder
When you ask for a quote, these questions help compare offers:
- Do you already have a mould for my boat model? If so, ask for the weight and a photo of a part already fitted. If not, ask how much plug and mould add to the price.
- Who does the survey and who installs? A perfect part that does not fit the boat is useless.
- How is the part made? Two half-shells bonded and tabbed or a single piece, core type, reinforcement at fixing points, hand lay-up or vacuum: they affect weight and durability.
- How much does the finished part weigh? A serious builder knows this figure.
- What is the lead time, and what happens if it gets damaged: how is it repaired?
The alternative: a 3D-printed hollow monoblock structure
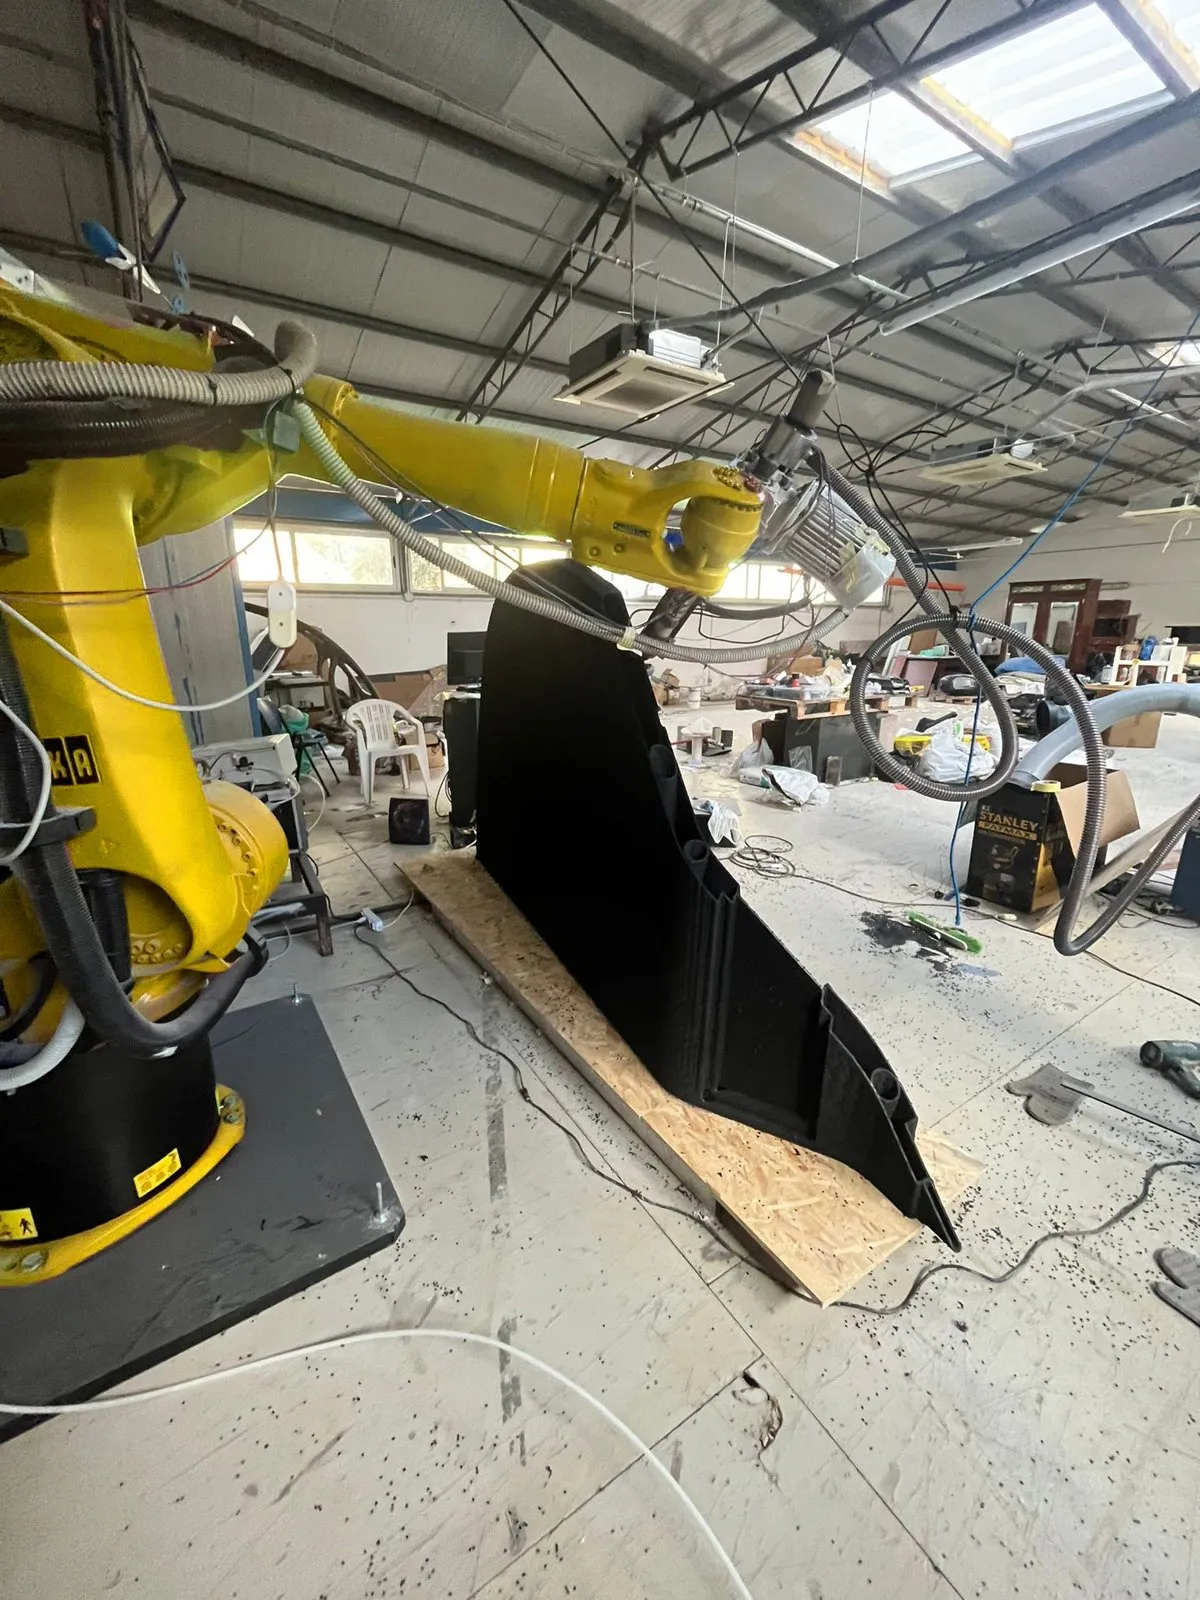
When the hard top is a one-off there is a third way, which removes both the moulds and the two half-shells. With a robot we directly print a hollow monoblock structure: upper face, lower face and internal hollow ribs are created together, in a single closed section of thin-walled reinforced thermoplastic. There are no half-shells to join and no tabbing to laminate; the largest parts are printed in sections that are assembled on a jig.
The difference is clear when you look at the part in cross-section:
Stiffer with less material. A panel’s stiffness depends mainly on how far the material sits from the centre of the section, that is, on its moment of inertia. A closed hollow section, with the two walls held apart and connected by ribs, has a much higher inertia and stiffness than a thin shell of the same weight. And since the part does not have to be demoulded, there is no need to add material just so it can come out of a mould.
One fabric and a finish. On the printed structure, a glass (or carbon) fabric and a finish are enough to obtain a single, light, high-performance part. The work is done by us or at the yard, and from the outside the result is filled, painted and repaired like fibreglass. NUGAE has developed its own techniques to make this finishing fast and effective.

For the Oceanis 43 sailing yacht the printed part measures 400 × 180 cm, weighs 55 kg and took 40 hours of printing. Weights and times for four more hard tops, from the 7.5 m fisherman to the 13 m RIB, are in the article 3D-printed hard tops: weight, lead time and what changes compared with fibreglass.
We say it here too: if you need dozens of identical parts, the traditional mould becomes competitive again. For a one-off or a small run, printing almost always wins.
Have a hard top to build? Send us photos of the boat or the 3D model: we reply with a segmentation proposal, an estimated weight and a lead time.
Video
Related case studies
)
)
)
Have a component to make lighter, faster or without a mould?
Challenge us